Easy Steps to Install a Bathroom Shelf
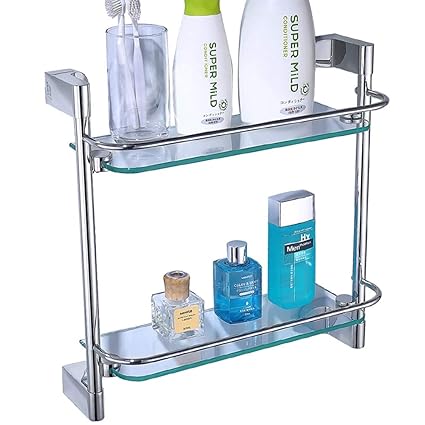
Bathroom glass shelves will add an elegant and sophisticated touch while providing extra storage to your bathroom. Most emerge to float along the bathroom wall; making the bathroom seems roomier. Then, the other can be installed over the toilet or under a medicine cabinet to offer a versatile addition to a current decoration.
How to Install Glass Shelves in Your Bathroom
Installing a glass shelf in a bathroom is surely a good idea. It is easy to install and does not need big planning and clean up. More interestingly, you can use it as soon as it is installed in your bathroom. However, how is exactly the step by step to install glass shelves in a bathroom?
Step by Step for Installing Glass Shelves in Your Bathroom
To install glass shelves for bathroom, you may need to prepare for some type of equipment first such as measuring tape, painter’s tape, hammer, screwdriver, drill, masonry drill bit and the shelf bracket kit itself. If you have prepared all of these things, you can follow the step by step for installing the glass shelves as follow.
Step #1: Bring it together
First of all, you need to bring the shelf and its holders together (not the brackets). Then, hold the shelf against the wall where you want to install the glass shelves. On the wall, you need to mark the midpoint of each shelf holder. For the best result, you should be careful about marking the position.
Step #2: Level
Secondly, remove the bathroom glass shelf and use a level to expand the mark you made before into a 3-inch vertical line. At this point, you have to employ the level to mark a straight line across the midpoint of these lines. It will help you to install the shelves properly later on.
Step #3: Drill holes
With the help of the lines you made before, drill the necessary holes to install the shelves. Center the center round hole of your bracket over the joint of the horizontal and vertical lines. After that, mark the center of every oblong hole. Then, put your bracket aside first to drill a quarter inch hole at the mark.
If you have drilled the hole, insert the packaged wall anchors into the holes. Substitute the bracket and then put in the screws into the anchors. After that, drive the screws carefully. For the second bracket, you just need to repeat the step in the same way. Don’t forget to do it carefully.
Step #4: Mount the shelf
The last, you will need to remove the glass shelving for bathroom from its holders. Slide one of the holders over the bracket and then check if the shelf mount is level. After that, stiffen the setscrew. Repeat the step for the other holder. Next, put the shelf in and attach in place.
However, if the shelf mount is not level, you should remove a holder and release the bracket screws. After that, slide the bracket down or up to create the unit level. Once it is level, you can redo the steps. In case you are installing a corner bathroom shelf, you may need some adjustments with the steps.
If you’re looking for the best bathroom shelf, our recommendation would be the one from RackUp, it has all the features you need, and made of premium material which ensures longevity. You can check them out through RackUp
Comments
Post a Comment